Setting up AWS CodeBuild for our CloudFormation repository.
AWS CodeBuild paired with AWS CodePipeline is a CI/CD platform that can build projects, run jobs, and deploy infrastructure. We’re going to use it to scan the CloudFormation templates before deployment, allowing us to fail the build job and halt a deployment if there are any security violations in our CloudFormation code.

We’ll also automatically send the results to Brigecrew to maintain a view across all of our infrastructure projects and share visibility throughout our organization.
First, tell the Bridgecrew dashboard you’re going to integrate AWS CodeBuild. To do this, open the integrations menu in your Bridgecrew account, select the ADD INTEGRATION button to open the integrations calalog.
Select AWS CodeBuild from the catalog, to be guided through the integration setup:
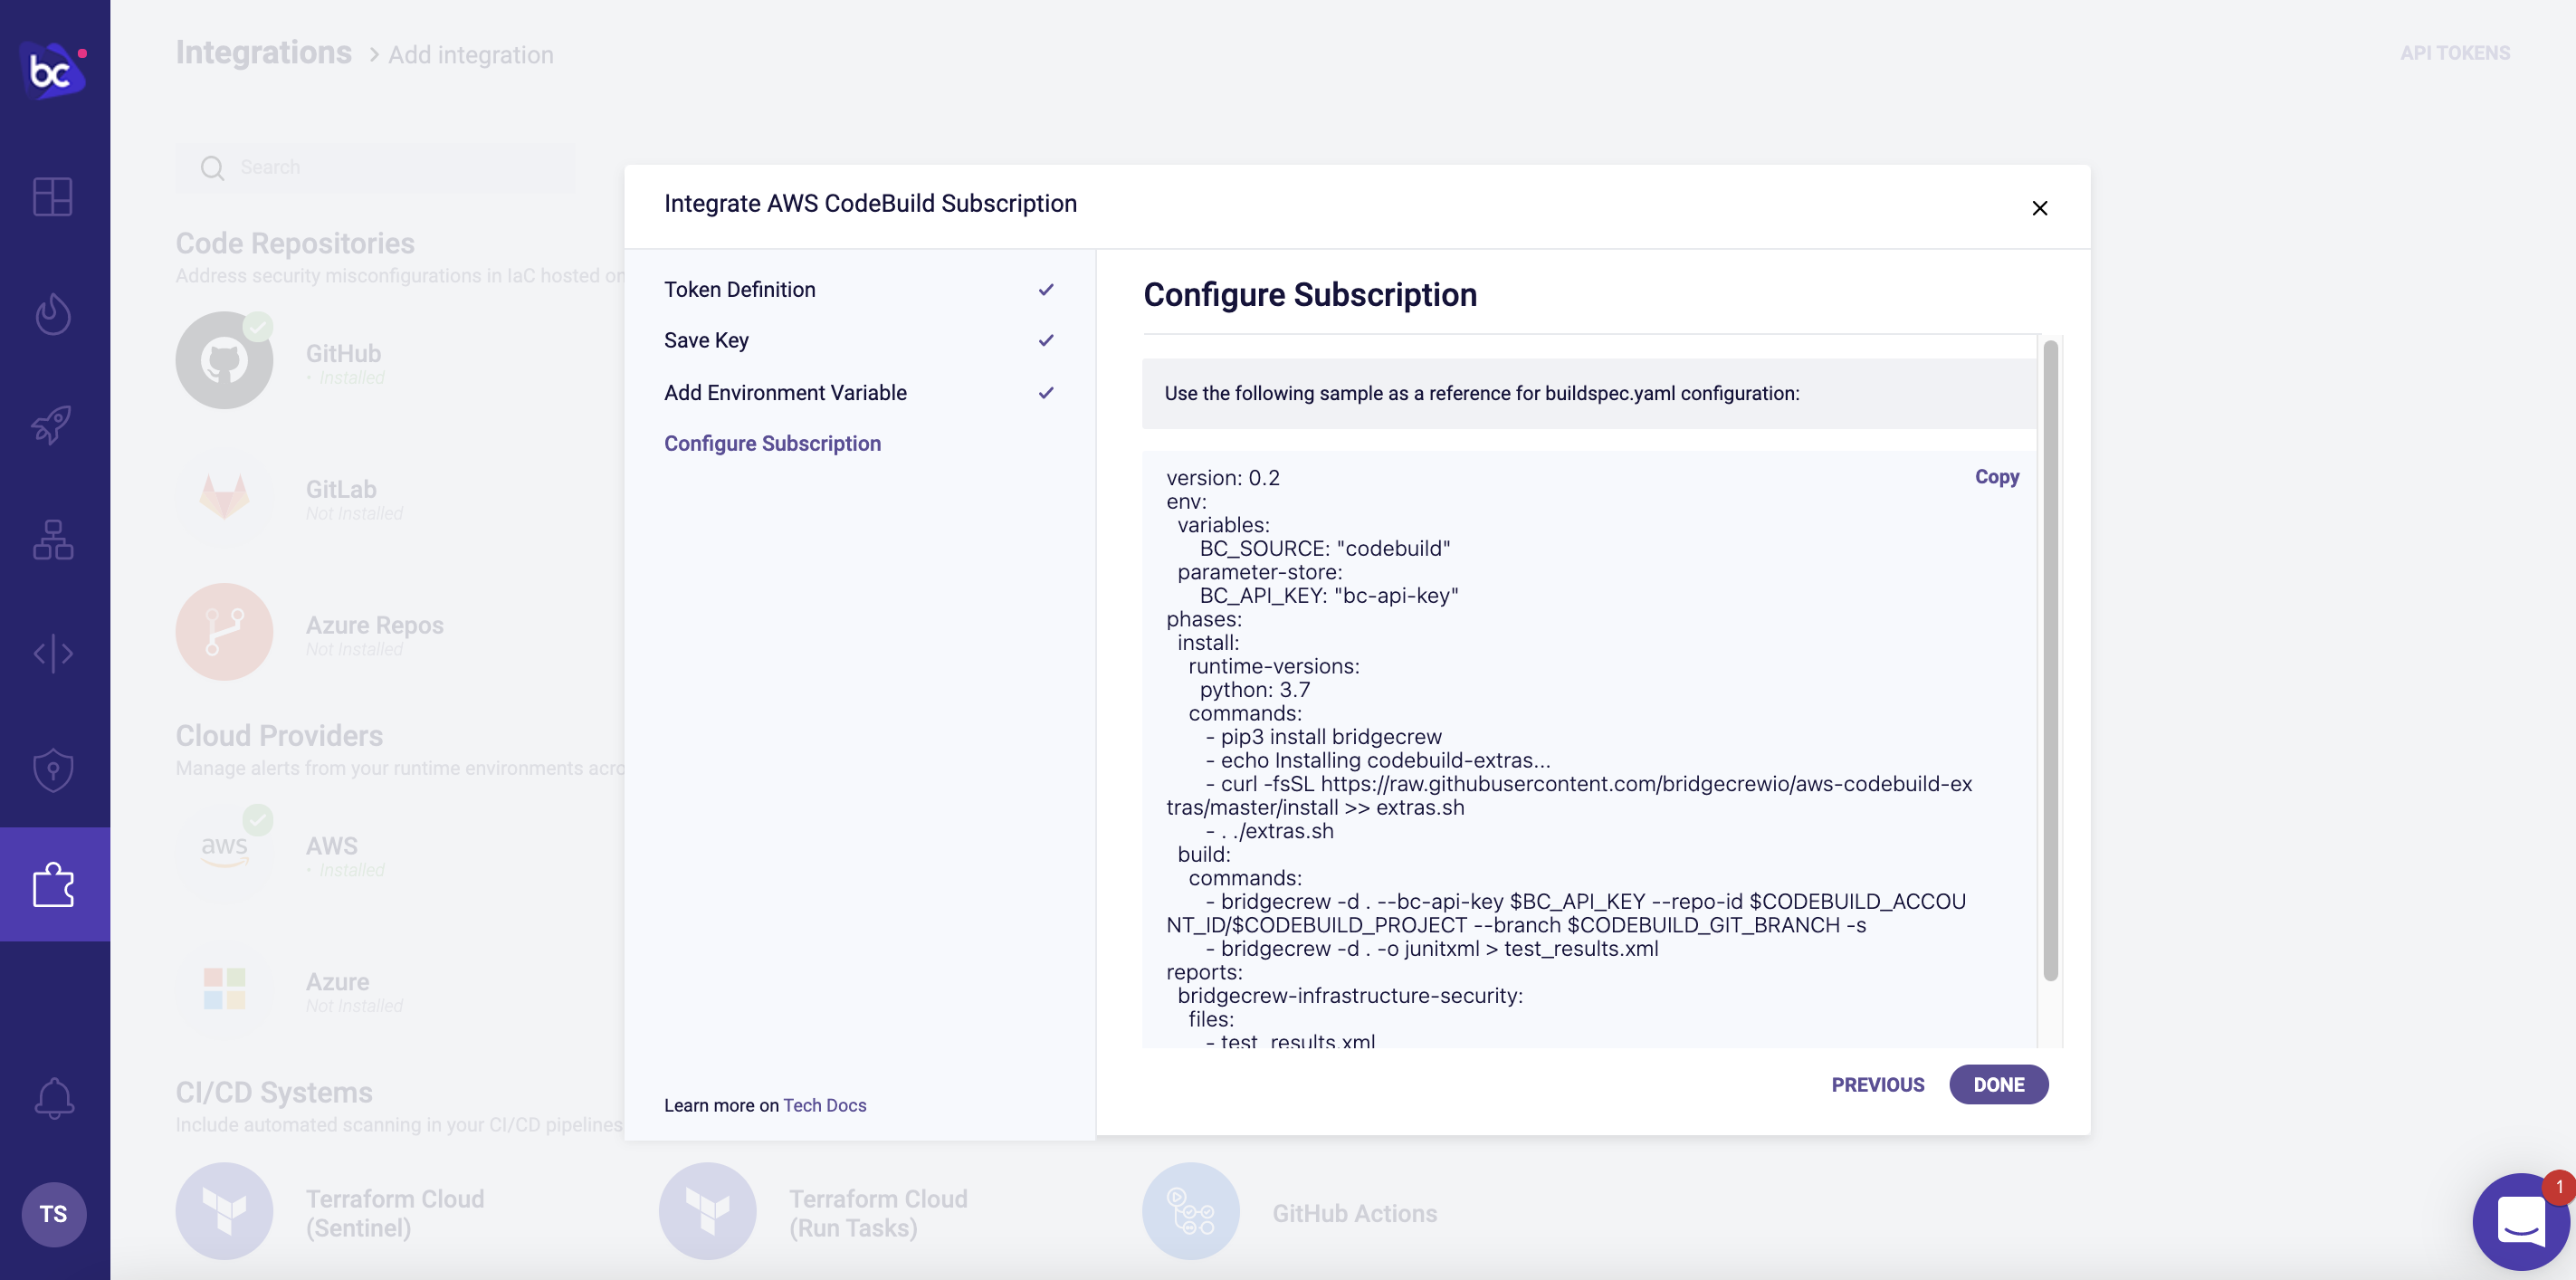
You will be prompted to create a new Bridgecrew API key, this allows codebuild to talk to the Bridgecrew platform, name the key Code Build Init Key and click next, you will then be presented with the new API key, we need to save this for later. Create a new text file and save it.
The next page provides a command to automatically add the API key to our AWS environment.
Run the command provided with your local aws CLI. This will save the Bridgecrew API key into your AWS System Manager’s parameter store so we can access it from our CodeBuild jobs later.
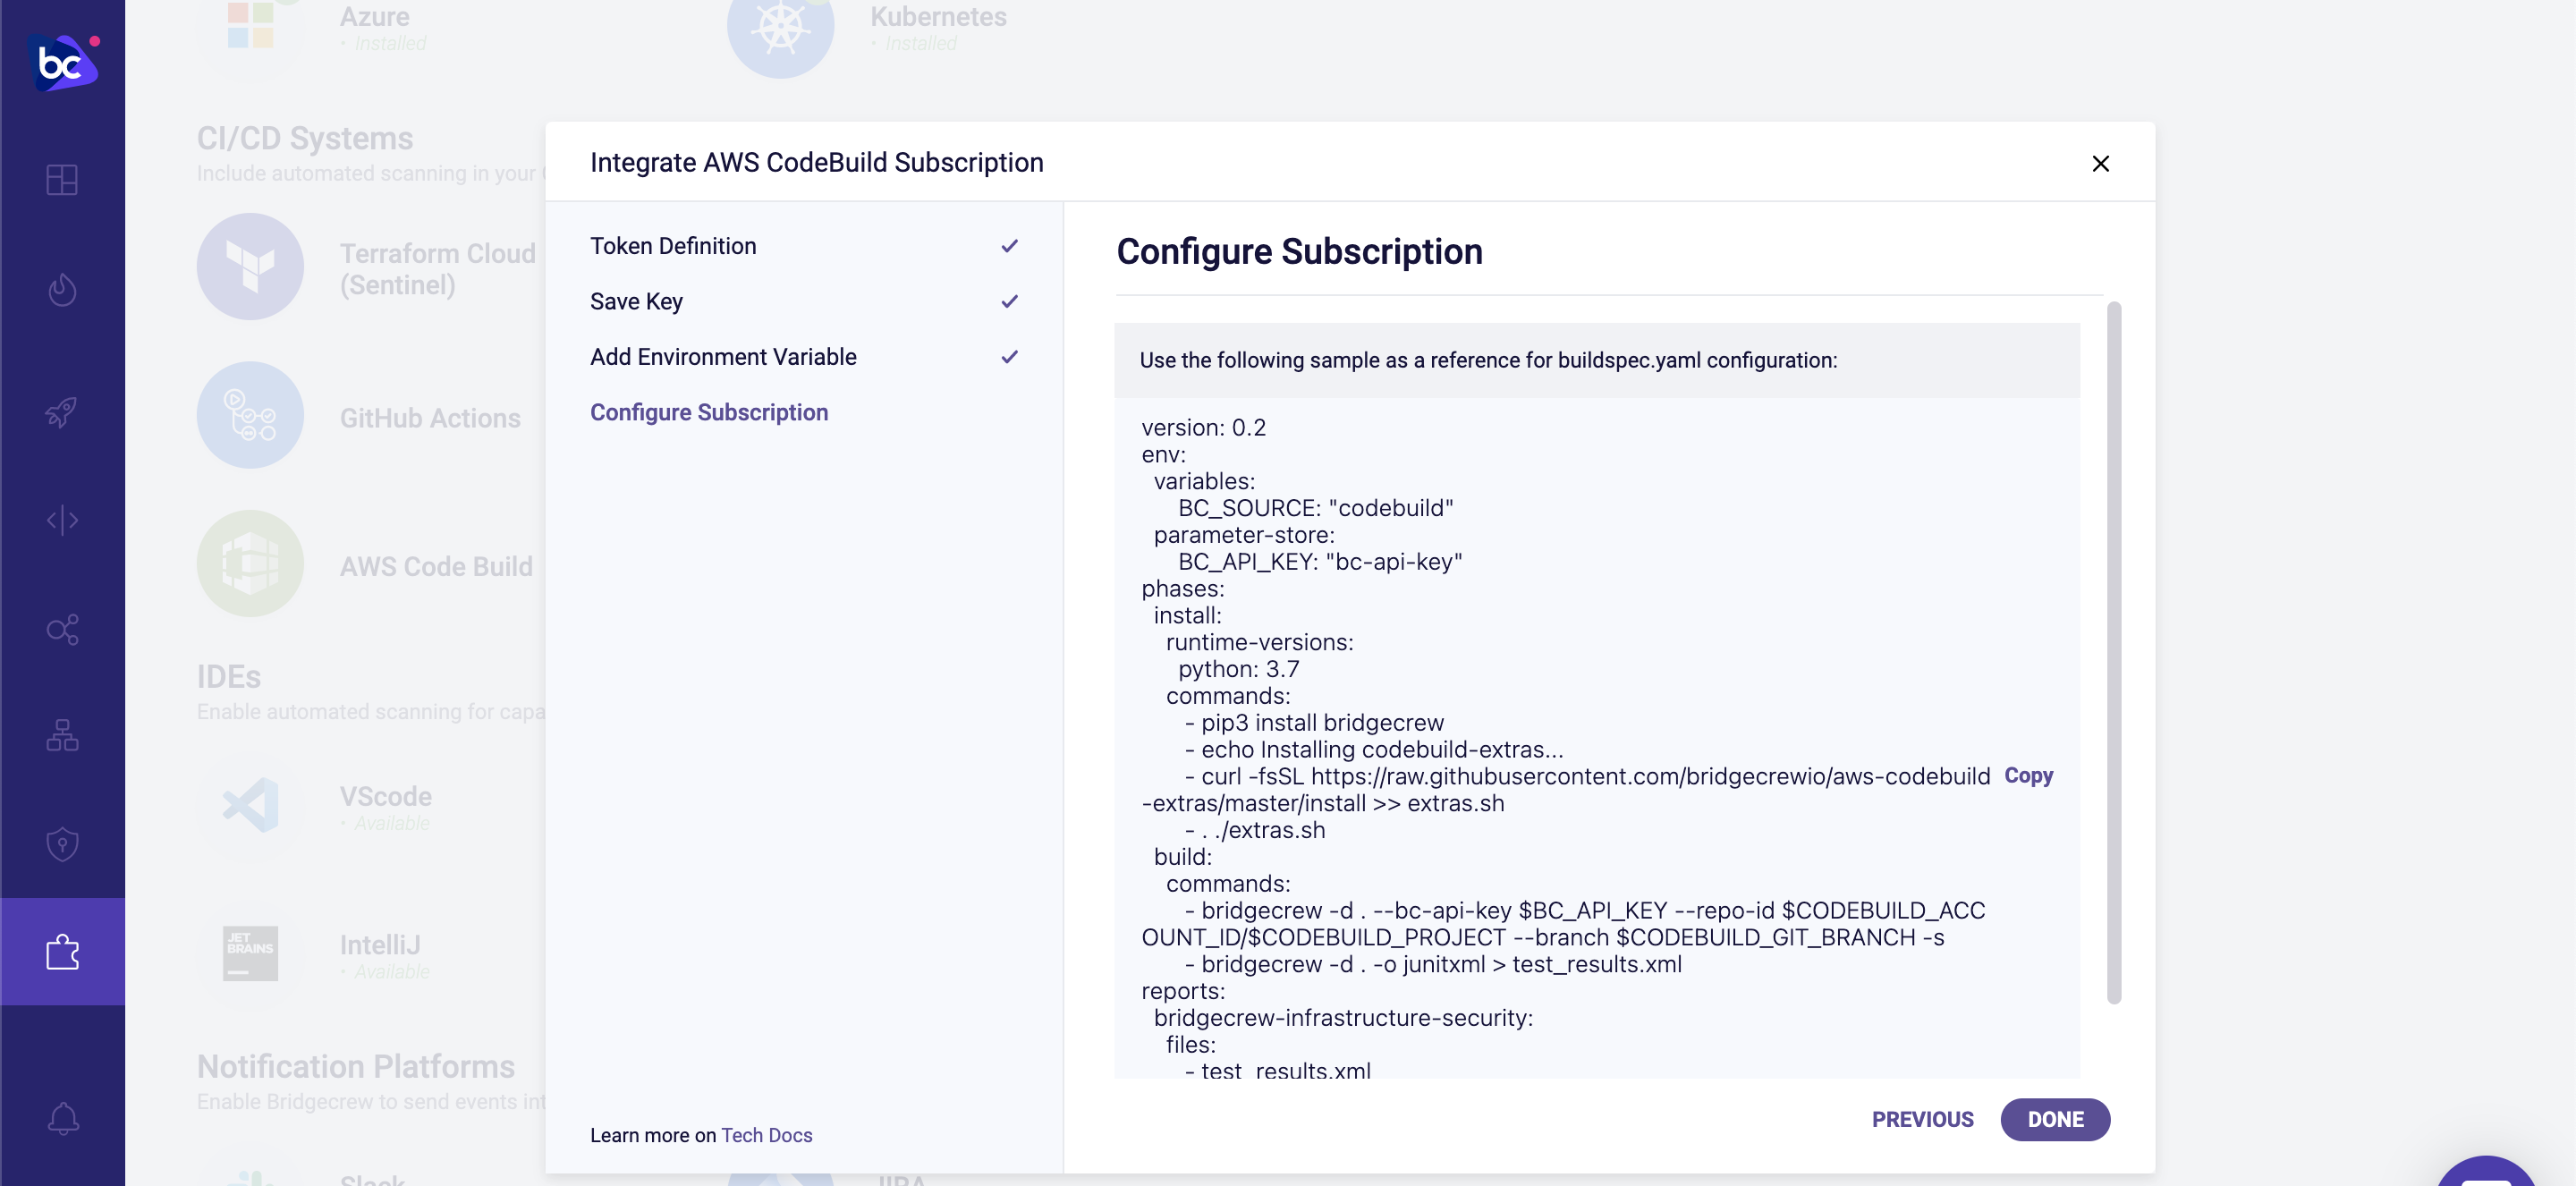
The buildspec.yaml is a good basic configuration, but we’ll use the following code instead:
version: 0.2
env:
  variables:
      BC_SOURCE: "codebuild"
  parameter-store:
      BC_API_KEY: "bc-api-key"
phases:
  install:
    runtime-versions:
      python: 3.7
    commands:
       - pip3 install checkov
       - echo Installing codebuild-extras...
       - curl -fsSL https://raw.githubusercontent.com/bridgecrewio/aws-codebuild-extras/master/install >> extras.sh
       - . ./extras.sh
  build:
    commands:
       - checkov -d . --bc-api-key $BC_API_KEY --repo-id $CODEBUILD_ACCOUNT_ID/$CODEBUILD_PROJECT --branch $CODEBUILD_GIT_BRANCH --use-enforcement-rules -o junitxml > test_results.xml
reports:
  bridgecrew-infrastructure-security:
    files:
       - test_results.xml
    discard-paths: yes
    file-format: JunitXml
artifacts:
  files:
    - '**/*'
  name: myname-$(date +%Y-%m-%d)
New Codebuild Project
Now go to your AWS CodeBuild service select Create a Build Project and name your project bridgecrew-tutorial.
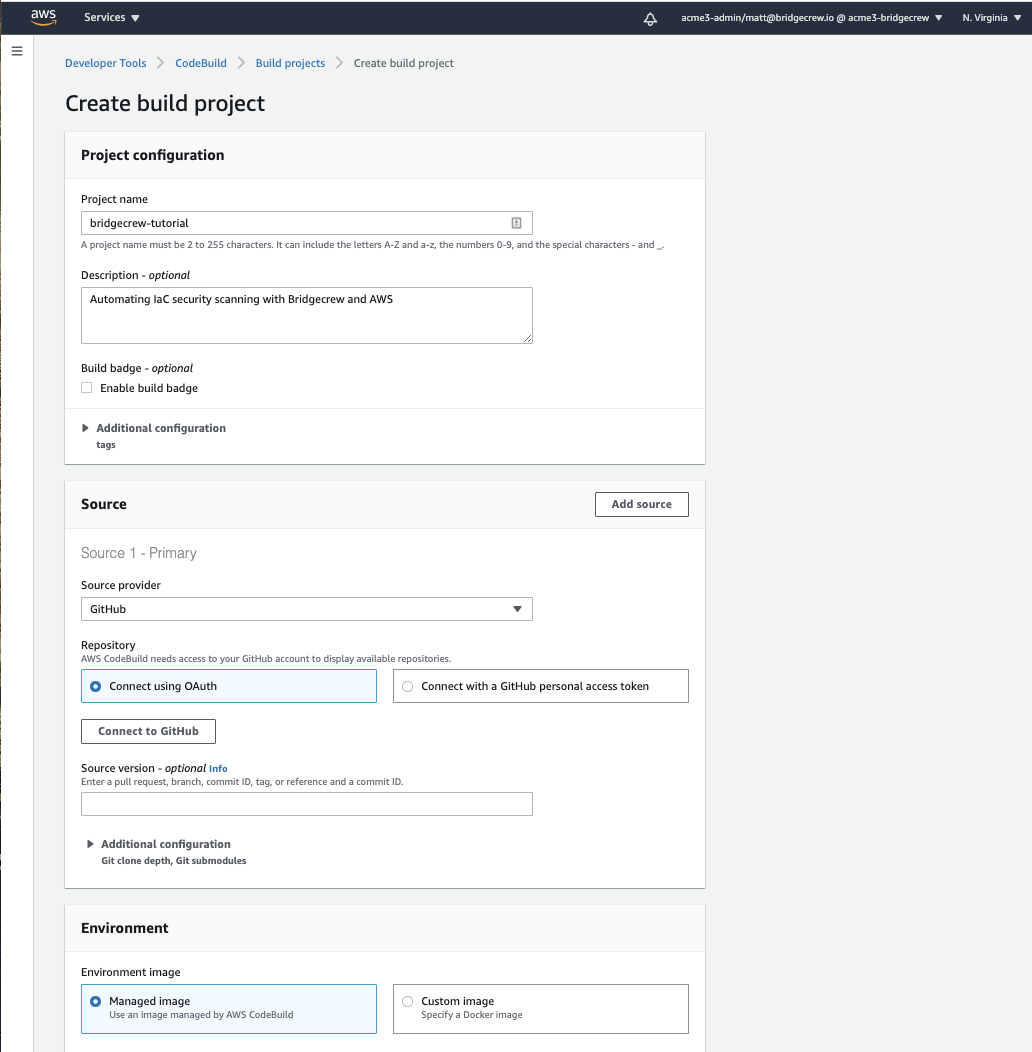
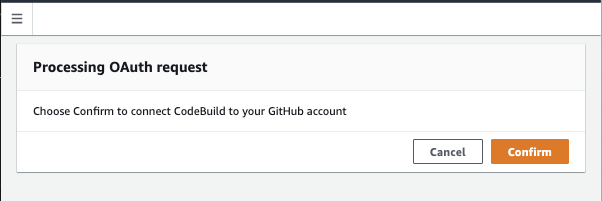
Under the Source section, choose GitHub in the Source Provider dropdown and select Connect using OAuth. When you select Connect to GitHub, you’ll be prompted to authorize your GitHub account:

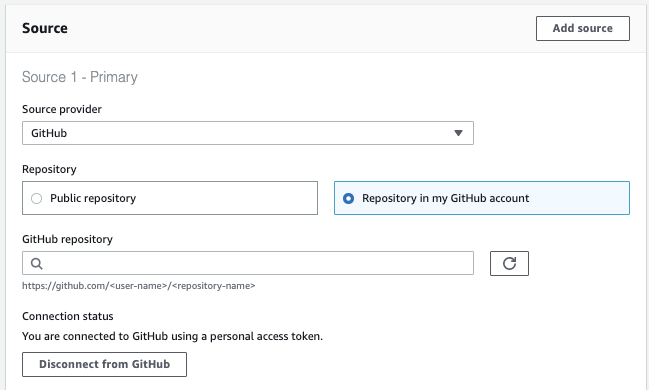
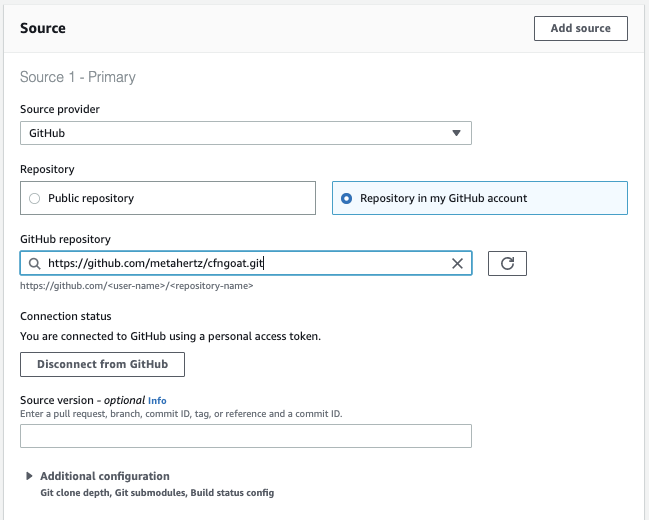
Now the Source section will have changed, allowing us to search for and select our CfnGoat repository from GitHub:
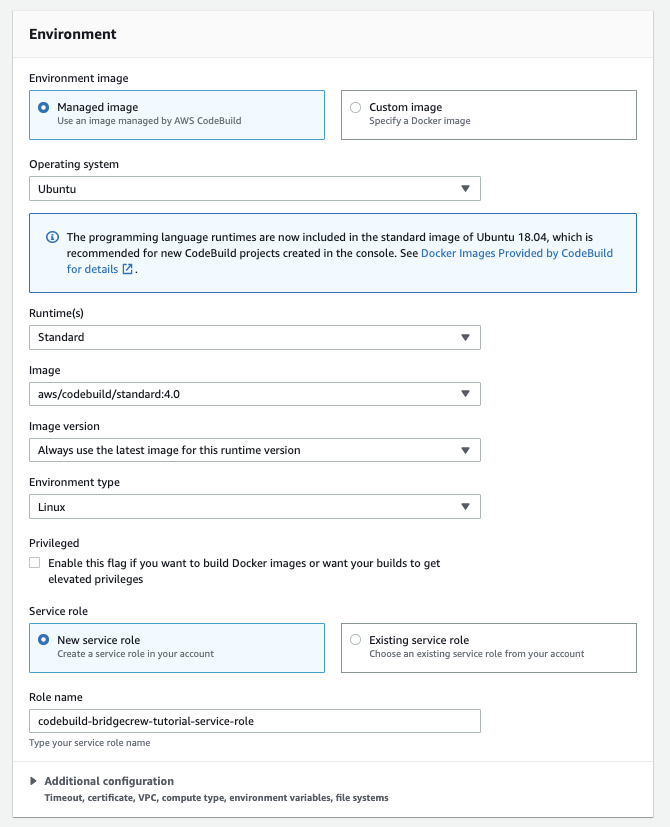
Configure your Environment setup to mirror the image below:
Adding our Buildspec
To complete our build setup, we need to add the build commands. Select Insert build commands, and use the editor to overwrite the contents with the YAML code you copied from Bridgecrew earlier.
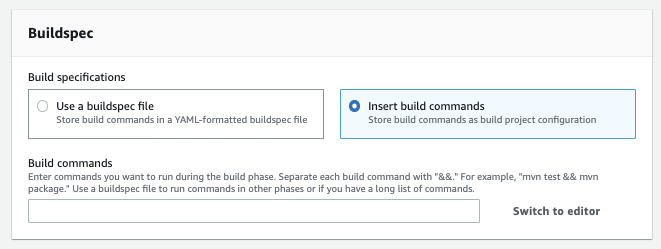
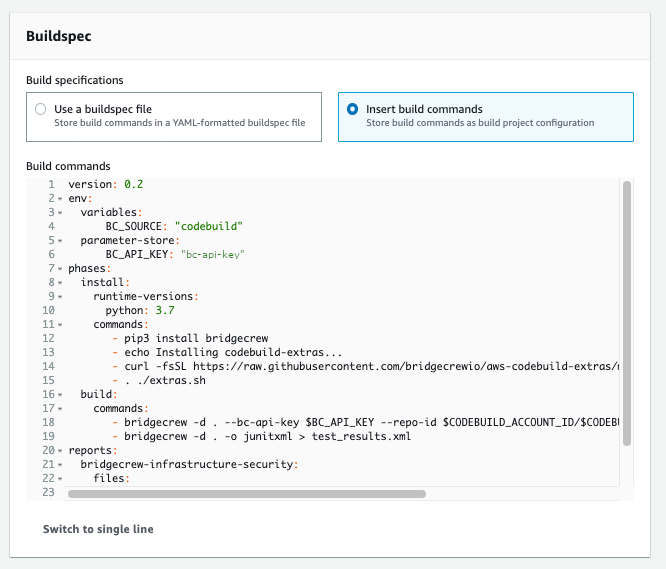
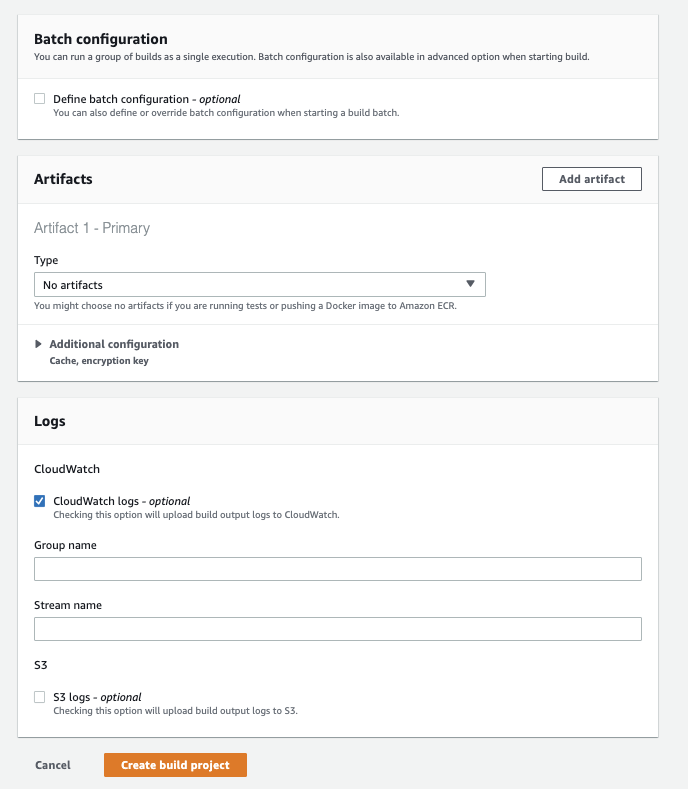
Select Create build project to finalize our CodeBuild project setup!
